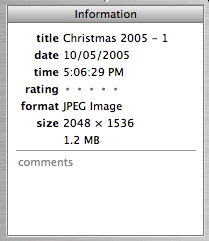
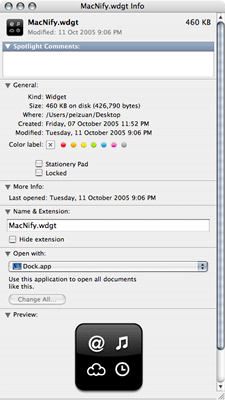
The "Get Info" function in Finder is a very handy tool in Mac OS X. It gives you very extensive information of the files in your computer.
Opening the Info Window in Finder
First of all, you need to select a file or a few files. Then you will need to open the "Info Window" of the selected files. There are four ways to open the Info Window of the selected file(s) in Finder.
- From the menu bar, choose "File"->"Get Info"
- Click the Action button on the top left corner of the Finder window, and choose "Get Info" from the drop-down menu.
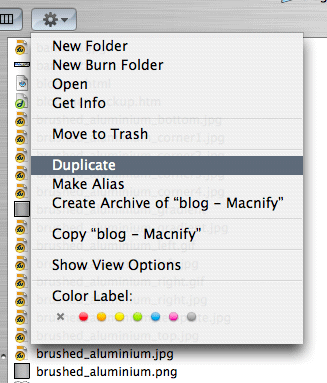
- Right-click or ctrl+click on the selected file(s) and choose "Get Info" from the drop-down menu.

- Type the shortcut key "command+i", my personal favorite.
More than just seeing information
The Info Window allows you to modify the metadata and many other attributes of a file. Depending on the file types, there may be different options for you to see and change. Typically, you can change the default program in which a file is launch, the ownership and access right of a file, the icon etc. If you are using Tiger (
Mac OS X 10.4
), you can assign descriptive keywords as "Spotlight Comments" which helps
Spotlight pinpoint a specific file or a number of files by those keywords.
Seeing collective information of multiple files
You may have noticed that using the "Get Info" command on a number of files will open just the same number of Info Windows altogether, one for each file. Such a behavior is awfully ugly, especially when you just want to see collective information like the total file size.
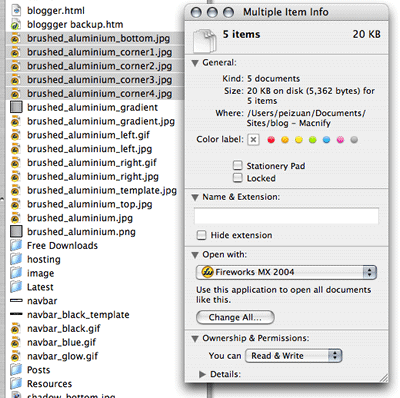
To see the collective information of the multiple-selected files in one Info Window, just hold the ctrl key when you execute the "Get Info" command. E.g., hold the ctrl key when you mouse-click the "Get Info" or when you type the "command+i" shortcut key.
Yet another Mac tip is on the web!


 To see the collective information of the multiple-selected files in one Info Window, just hold the ctrl key when you execute the "Get Info" command. E.g., hold the ctrl key when you mouse-click the "Get Info" or when you type the "command+i" shortcut key.


